23.9.12

Chooks

It's taken a while but finally we have chooks! It has been months in the planning, four weeks since we had the first big working bee on the chook house and three weeks since we finished building the main part of the structure. Finishing off the house and fitting it out over the last few weekends were much more fiddly and time consuming than we expected.

We found a guy on Gumtree selling chooks at Bridgewater which is about 20 minutes drive up the highway. (I really wanted to find some on ChookNet because I love the fact that this website exists, but there were no point-of-lay pullets being advertised there). Ken's chooks free-range, but he'd put some in a cage for us to choose from. They are around fifteen weeks old which means they will start laying in a month or so.


We bought three and brought them home in a big box - apparently turning up with a box made us more prepared than most of his customers. They didn't seem to mind the trip apart from the roundabouts. Then we put straw and wood shavings in the house and filled their food and water.


Then opened the box and they just sat there.


So we had to grab them and put them in the house by hand.


They seemed pretty comfortable straightaway and not stressed by their journey at all. Sofia was fascinated but not quite sure what to make of them. If only they understood what is coming their way once she gets used to them...


When we gave them some food scraps they got straight into it and were scratching around finding their own too.  


The run is a bit of a mud pit as we've had 30mm of rain in the past three days and it is clay soil. We may have to work on drainage, but once the chooks have settled in they will be able to roam more widely in the backyard during the day where there is grass and all manner of tasty plants and insects.

22.9.12

Building a chook house - the finishing touches

The chook house was more or less built but it needed a few more things done before the new residents can move in. The chooks needed access, somewhere to sleep, somewhere to lay eggs and we need to be able to get the eggs.

The ramp is made from bits of wood found around our yard. Sofia is checking it out and her new sibling is looking on. Note also that the chook door now has a hook to hold it open.


A chook's eye view of the ramp from inside when the ramp was half finished.


The roost is just a branch pruned from the chestnut tree, trimmed to size then nailed to the frame.


The nesting boxes are free standing boxes with a sloping roof so the chooks can't sit on top. Here is Miranda making the nest boxes (and Sofia making "soup" if you look closely).


Relaxing in the chook house with the finished nest boxes. Possibly the last time I ever sit on the floor in there.


The egg door is an important part of the chook shed as it allows us to collect any eggs without going into the chook yard. We had to cut out a section of the wire mesh from the old dog enclosure so that the gate can open. It opens from the top so that little children can easily check the eggs.


Checking that the door works...

We've also fixed the gate on the enclosure that has been broken since we moved in.

Only one thing missing now...

12.9.12

Using our preserves

One of the things that we tried to consider when preserving the summer bounty from the garden was how the end product would be used - no point making a whole lot of something if it just sat in the cupboard.

This post is just to comment on some of the hits and misses.
  • The dried plums and pears were a big hit, we have run out of both and will definitely do more next season
  • The various jams (cherry plum, berry, crabapple) are all delicious and while we don't eat a lot of jam ourselves, they have been easy to give away. Plus having yummy jam means that I have been forced to try scone making and revisit pikelets (both being good jam and cream vehicles)
  • In comparison, the plum sauce, while very tasty has been languishing
The large quantity of quince paste sitting in the bottom of the fridge had been bugging me until recently. You can eat the paste with cheese or use it as a glaze, but we weren't really getting through it.  Then I was flicking through a recently acquired cookbook (I like Heidi's blog a lot so thought I would buy her book) when a recipe for membrillo cake caught my eye. The cake uses 225g of paste - a bit of an extravagance if you are paying Maggie Beer for her paste, but ideal for me with our glut in the fridge.

The cake turned out quite well.


I didn't have the recommended size tin and used a smaller one which resulted in a thicker cake so the edge was a bit overdone and dry before the middle was cooked. Also, the cubes of paste in the cake were not very evenly distributed (I was worried they would break up when I mixed it) so some pieces of cake had lots while others were lacking. Overall it was still pretty yummy - I think I will have to make it again with a few tweaks (maybe some yoghurt in the mix and definitely a shallower profile).  The recipe is available online here.

9.9.12

Building a chook house - day 3

The final step was putting together the chook shed wall panels that we'd built on day 1 and day 2 and trying to work out how to put a roof on the thing. Unlike last weekend, it was an absolutely gorgeous day.

First, I assembled the shed's base on my own. It probably wasn't the smartest way to do things but I built it in the garage so there was a flat surface to work on then carried it out to the chook yard. The legs aren't designed for this and they sagged a bit on the way but it was easy enough to knock them back into place once it was on the ground.


The rest of the shed needed to be assembled in one hit so we didn't have a half built chook house with no roof at the end of the day. I wasn't actually sure that this would be possible when John turned up around 3pm but he was confident so we decided to give it a red hot go.

Putting up the precision engineered walls was easy because they really were very well made. Really! They all stood up nice and vertical and fitted together pretty well exactly as planned. For a first attempt, this was quite impressive - in my humble opinion.

 
Sofia loved being in the half built chook house. Chiara appeared somewhat more suspicious of her father's reasons for putting her there.


The roof was more challenging and the plans weren't finalised until we had put the rest of the structure together and could see how it all fitted together. John worked out a solution and we made it work without too much hassle. 


It was dark by the time we finished so this photo was taken a few days later. So here it is, finished but for a few details and the fit out. It may look a bit like an outdoor dunny but it will soon be home to our very own chickens.

3.9.12

Building a chook house - day 2


Day 1 was a big success but there is still a lot to do. We still need a stand for the chook house but we need to work out how high it should be and how we're going to build it. The first thing was to find some good solid legs for the stand. There was an old structure at the bottom of our yard made of wood with large wire mesh over it - presumably so something could grow over it. Whatever it used to be, it was just a big weed pit now so I set about knocking it down and reusing the wood. It was hard going as two of the legs were concreted into the ground and the old bolts had all rusted into the wood. 

The dismantled structure with its former location - and my thumb
The uprights from this structure were about 11 x 11 cm and ideal except for the fact that the power saw we borrowed couldn't cut wood that thick. That meant sawing each of the legs by hand which was pretty tedious and hard work. The next step was working out how to hold the stand together. I decided to nail on some braces which the cross beams will be attached to - it will make sense when there is a photo of it completed.

Stand legs with braces attached - and my thumb
Just to test that it is roughly right I stood the legs up and put the chook house floor on top. When it is nailed together, the legs will be in the corners of the floor.

Checking the level of the stand - without my thumb
It might not look like much but it was all hard physical work. The stand, floor and walls are now ready to bang together tomorrow - we just need to work out how to build the roof.

1.9.12

Building a chook house - day 1

One of our goals with this house and the large yard was to get chooks. Apart from providing eggs, they also provide fertiliser and are very good at controlling codling moth in our apple, pear and quince trees. As with everything, we have been thinking we should leave it until the house is done but that is dragging so we've decided to go ahead and build a chook house now.

We have a ready made chook yard which the previous owners used to keep one of their dogs in - although apparently it yelped all night so they gave up and took it back inside the house. The kennel is too small to be a chook house so that is being dismantled and we are building a new one.

Its surprisingly difficult to find simple, detailed plans anywhere on the internet. Even when you find plans, the recommended parts are non-standard size and the people at the hardware shop recommend other ideas. This makes it very difficult if you have little idea what you're doing. We are running with a plan from a book called Keeping Chickens - An Australian Guide which we picked up from Fullers bookshop. The plan will still need some minor modifications to make it fit in our chook yard. So this is our attempt. We can fix the details later.
 
Day 1 (last Sunday) was a bit of a working bee. Andrew and Julianne were visiting from Sydney and Helen, John and Chiara came round too. We got all of the big stuff that we needed delivered from K&D and only needed one extra trip to buy more bits on Saturday afternoon. We also bought or borrowed all the power tools we thought we might need ready for the big day on Sunday. It was quite a cool day with fresh snow a long way down the mountain and a nasty wind.


So we had to clear out the garage and work in there.

There was "thoughtful" planning, ...


... measure twice, cut once (with one of the many tools on hand) ...


... and some handy work with the drill.


The day went well with three out of four wall panels completed, including the one with the larger hinged door, and only one minor injury - 
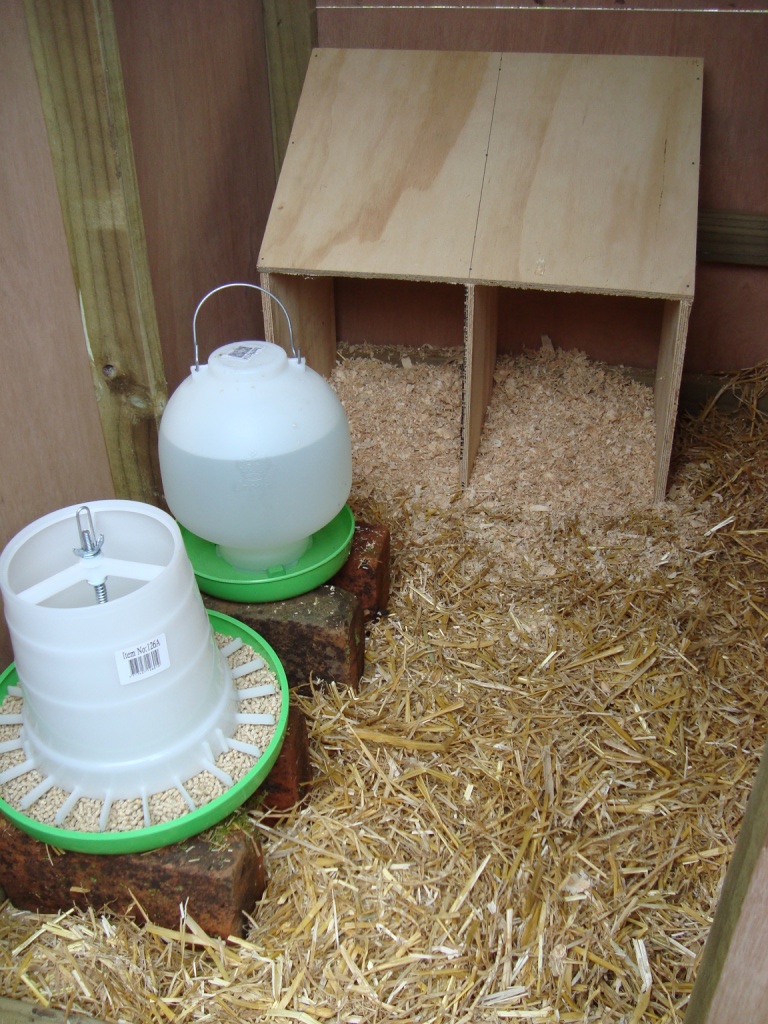
a hammered thumb. This photo shows the chook house with the two side walls in position which gives a good idea of size. You can't really tell from the photos, but this a very solid and heavy structure.


There were also plenty of breaks to warm up with hot drinks and food (the apparent temperature in Hobart went below zero on more than a few occasions that day).

Big thanks to the boys for the grunt work, Julianne (our official photographer for the day) and Helen for help with baby wrangling and delicious cherry and cheese sweet treats for morning tea.

We hope to complete the house in the next few weeks and get some girls in (most likely some ISA browns) as soon as we can.