3.9.12

Building a chook house - day 2


Day 1 was a big success but there is still a lot to do. We still need a stand for the chook house but we need to work out how high it should be and how we're going to build it. The first thing was to find some good solid legs for the stand. There was an old structure at the bottom of our yard made of wood with large wire mesh over it - presumably so something could grow over it. Whatever it used to be, it was just a big weed pit now so I set about knocking it down and reusing the wood. It was hard going as two of the legs were concreted into the ground and the old bolts had all rusted into the wood. 

The dismantled structure with its former location - and my thumb
The uprights from this structure were about 11 x 11 cm and ideal except for the fact that the power saw we borrowed couldn't cut wood that thick. That meant sawing each of the legs by hand which was pretty tedious and hard work. The next step was working out how to hold the stand together. I decided to nail on some braces which the cross beams will be attached to - it will make sense when there is a photo of it completed.

Stand legs with braces attached - and my thumb
Just to test that it is roughly right I stood the legs up and put the chook house floor on top. When it is nailed together, the legs will be in the corners of the floor.

Checking the level of the stand - without my thumb
It might not look like much but it was all hard physical work. The stand, floor and walls are now ready to bang together tomorrow - we just need to work out how to build the roof.

1.9.12

Building a chook house - day 1

One of our goals with this house and the large yard was to get chooks. Apart from providing eggs, they also provide fertiliser and are very good at controlling codling moth in our apple, pear and quince trees. As with everything, we have been thinking we should leave it until the house is done but that is dragging so we've decided to go ahead and build a chook house now.

We have a ready made chook yard which the previous owners used to keep one of their dogs in - although apparently it yelped all night so they gave up and took it back inside the house. The kennel is too small to be a chook house so that is being dismantled and we are building a new one.

Its surprisingly difficult to find simple, detailed plans anywhere on the internet. Even when you find plans, the recommended parts are non-standard size and the people at the hardware shop recommend other ideas. This makes it very difficult if you have little idea what you're doing. We are running with a plan from a book called Keeping Chickens - An Australian Guide which we picked up from Fullers bookshop. The plan will still need some minor modifications to make it fit in our chook yard. So this is our attempt. We can fix the details later.
 
Day 1 (last Sunday) was a bit of a working bee. Andrew and Julianne were visiting from Sydney and Helen, John and Chiara came round too. We got all of the big stuff that we needed delivered from K&D and only needed one extra trip to buy more bits on Saturday afternoon. We also bought or borrowed all the power tools we thought we might need ready for the big day on Sunday. It was quite a cool day with fresh snow a long way down the mountain and a nasty wind.


So we had to clear out the garage and work in there.

There was "thoughtful" planning, ...


... measure twice, cut once (with one of the many tools on hand) ...


... and some handy work with the drill.


The day went well with three out of four wall panels completed, including the one with the larger hinged door, and only one minor injury - a hammered thumb. This photo shows the chook house with the two side walls in position which gives a good idea of size. You can't really tell from the photos, but this a very solid and heavy structure.


There were also plenty of breaks to warm up with hot drinks and food (the apparent temperature in Hobart went below zero on more than a few occasions that day).

Big thanks to the boys for the grunt work, Julianne (our official photographer for the day) and Helen for help with baby wrangling and delicious cherry and cheese sweet treats for morning tea.

We hope to complete the house in the next few weeks and get some girls in (most likely some ISA browns) as soon as we can.

17.8.12

The first repairs

The renovation isn't going very quickly. In fact, it isn't going at all at the moment although hopefully that will change soon. While we're waiting to start on the major works, we're hoping to clean up the front four rooms. It's hard to do much until we know more about our plan but we've started work on some minor things that won't be impacted by the larger works to come.

The first thing we've done is to get some of the old sash windows sealed. One of the biggest problems with our house is the drafts. Getting the windows sealed has made a noticeable difference to drafts but there are still lots of drafts around doors. It's a bit hard to see them in the photo below - there is a seal on both sides of the window frame which means no drafts and no more rattles in the wind.
Window seals inside and out
The windows were taken apart, adjusted so they close properly, had the seals added, and had the cords replaced.


The cords were replaced as well
The window frame in Sofia's room had quite a lot of borers - not a big surprise as the skirting boards in that room have also suffered from borers. It's fixed for now but will need some more work when we get the room fixed up.

4.8.12

Winter colour

The garden had been looking a bit bleak after the glut of flowers (mostly roses) and fruit that we had over summer, but in the last few weeks splashes of colour have been revealing themselves.

The azaleas and rhododendrons (thanks for the tip Pen) are vibrant.


Some fabulous bulbs have sprung up. The majority are jonquils (there are hundreds, which is a pity as I am one of those people that think jonquils smell awful - Ian thinks they smell quite nice). Luckily there are some alternatives including snowdrops, irises and daffodils. From the look of the spiky green foliage around there are a whole lot more to come.


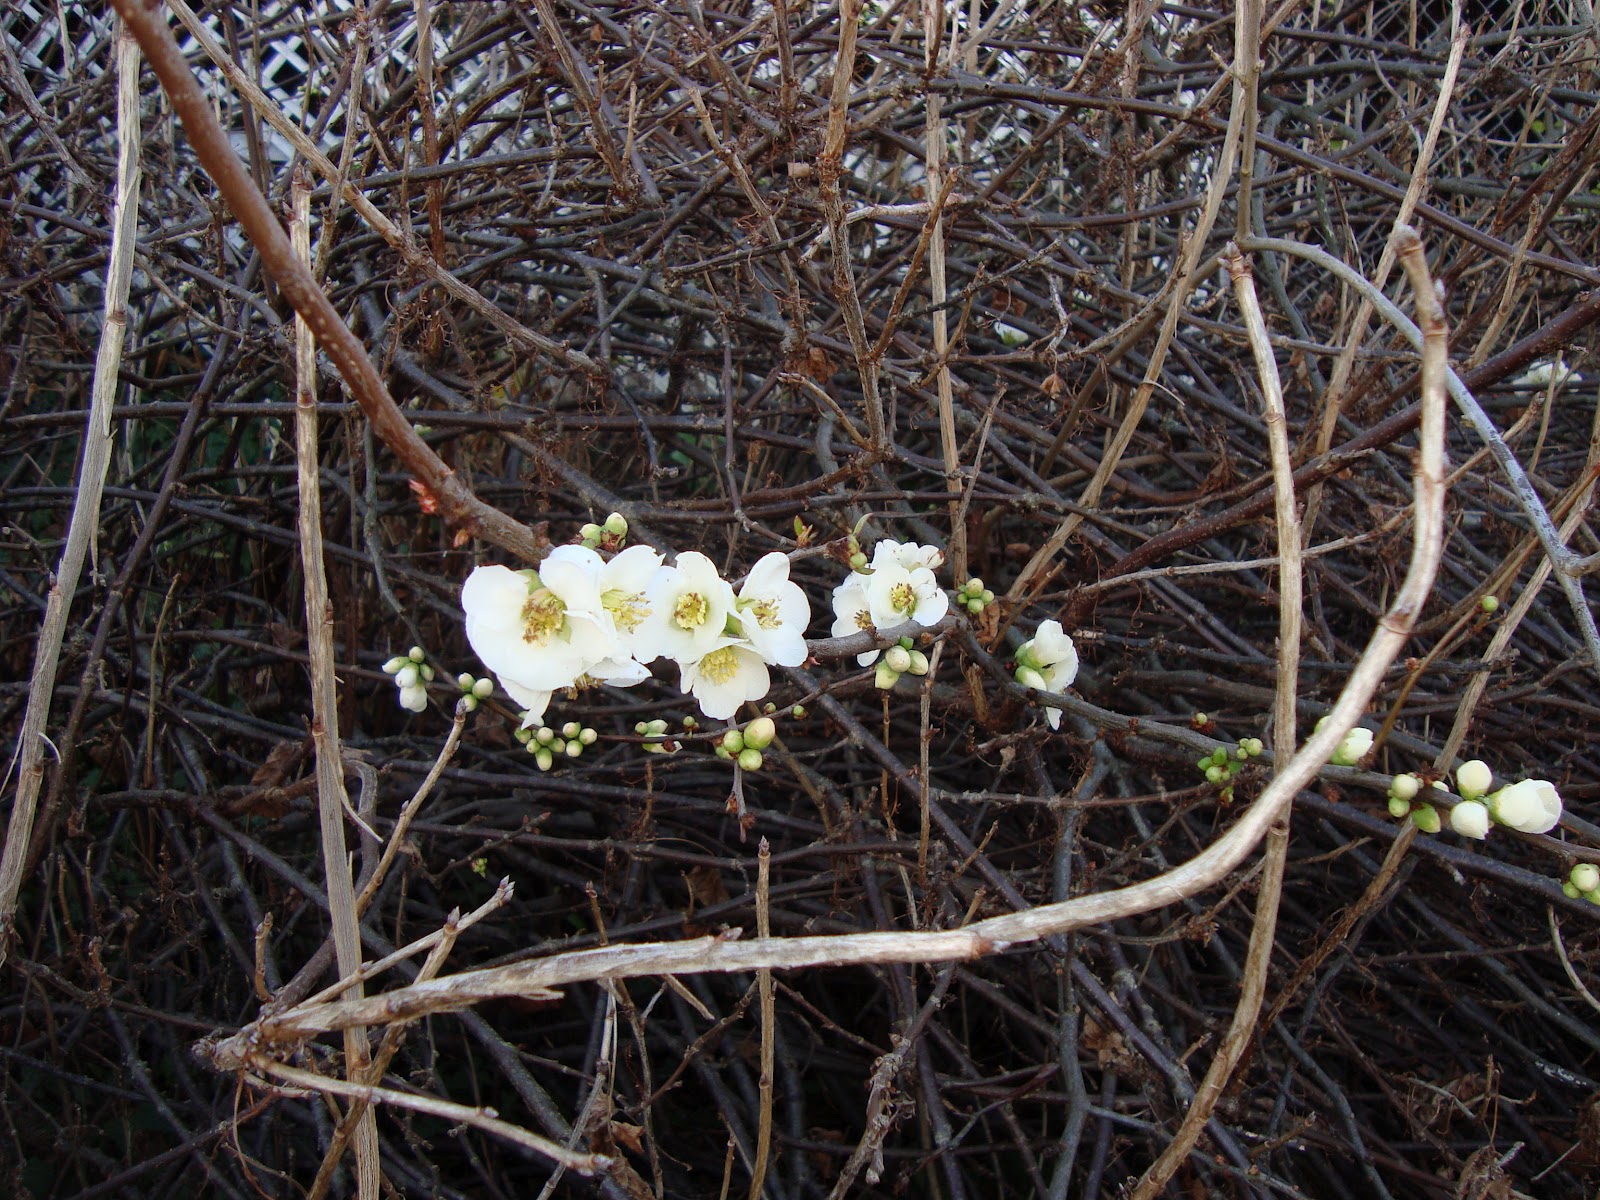
There are also some beautiful blossoms. The first two photos are flowering quince (we think), I am not sure what the blossom in the third photo is (you can see our neighbour's manicured front lawn in the background).


We have a couple of large wattles on our front boundary and the flowers are literally cascading from the trees.


The camelias are just starting to bloom.


We have no idea what the white flowers in the next photo are (if anyone can help, please leave a comment).


I am most excited about the magnolia tree, I think they are my all-time favourite! I fell in love with these type (which bloom before their leaves come in) when I lived in Melbourne. The beautifully sculptural flowers were/are a little sign that the short winter days are passing. This is quite a small tree and only has a few flowers on it at the moment, but there is another at the front of the house (a different variety, the flowers have more spidery petals) which is more mature and it has a whole heap of buds. I am looking forward to when they hit their stride and will post some more pics then.


31.7.12

Fruit calendar

The fruit seemed to last forever last summer. There was so much fruit we never bothered to note when each fruit started and finished - and we didn't get here until mid-December when things were already under way. To help us plan for this summer we've put together this rough calendar. For the fruits where we did some preserving we know the dates from the photos but it's mostly based on memory so it's pretty rough. Importantly, we can see that Sofia has a pretty constant supply of some kind of fruit to pick and eat from December to May.

Fruit season and preserving day for 2012 season

Of course timing might be different this season and some of the trees have been pruned pretty hard over the winter so may not fruit much at all this year. We're planning to keep much better notes this year so we know what to expect in the future.

12.7.12

Why Hobart?

I snapped this photo with my phone as I was walking to work one day last week.


The mountain gets a really beautiful thin cloud layer on top at this time of year which melts down the edges. On this day the sun was just coming up in the east so the cloud had a slight pink wash and there was also an almost full moon setting behind the mountain. Magic.

9.7.12

Treasures

After months cleaning up the wood heap then pruning fruit trees, there has finally been some time recently to get back to work on the rest of the garden. There is a big plant that I've wanted to get rid of ever since we moved in - think it was a datura. Apart from being pretty feral and needing to be frequently trimmed to keep it off the path, it also blocked the gate to get under the verandah from the front.
Before
Almost clear
There are a few treasures under the verandah like some real bona fide tea chests from Ceylon! There are about eight more under there - none in very good condition.

My favourite is the big piece of marble which has been broken in two. It looks like it may have been from an old dresser or wash basin stand or some other piece of furniture. The plan is to get it joined back together and made into something.

As an added bonus while we were cleaning up the garden, a family of four fairy wrens dropped by - we hope they visit again soon.